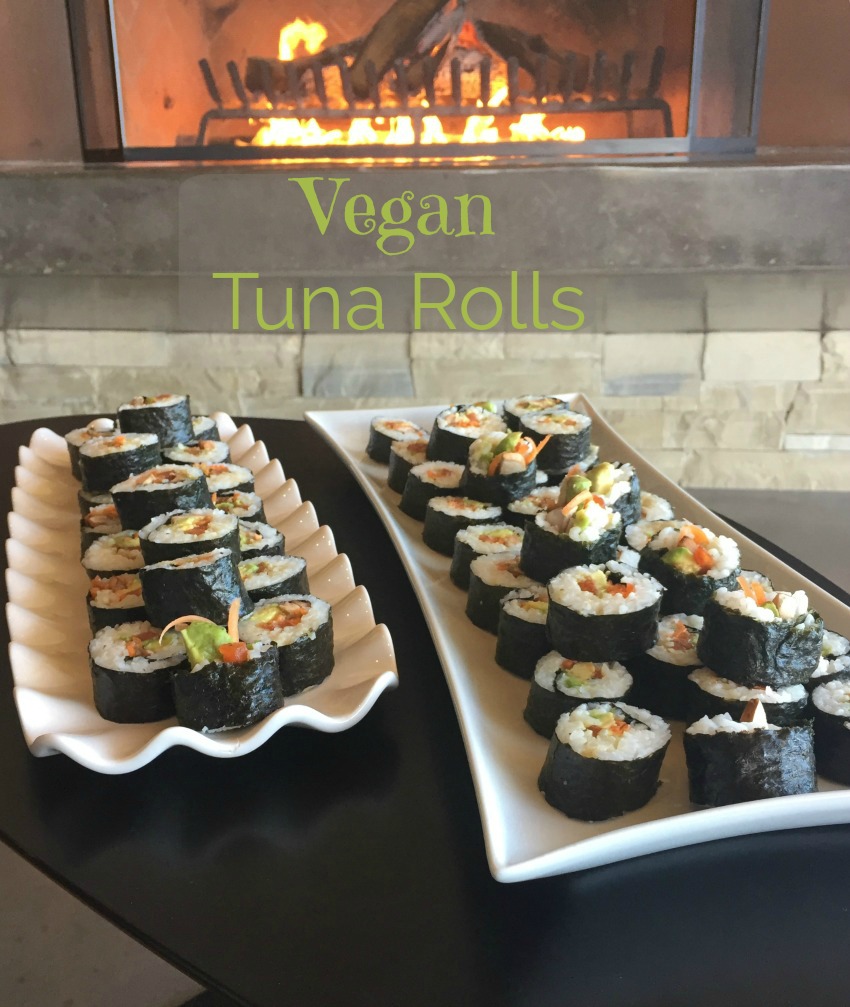
They’re beautiful, full of healthful ingredients and so delicious! These Vegan Tuna Rolls will be the star of the table and the first to be gone!
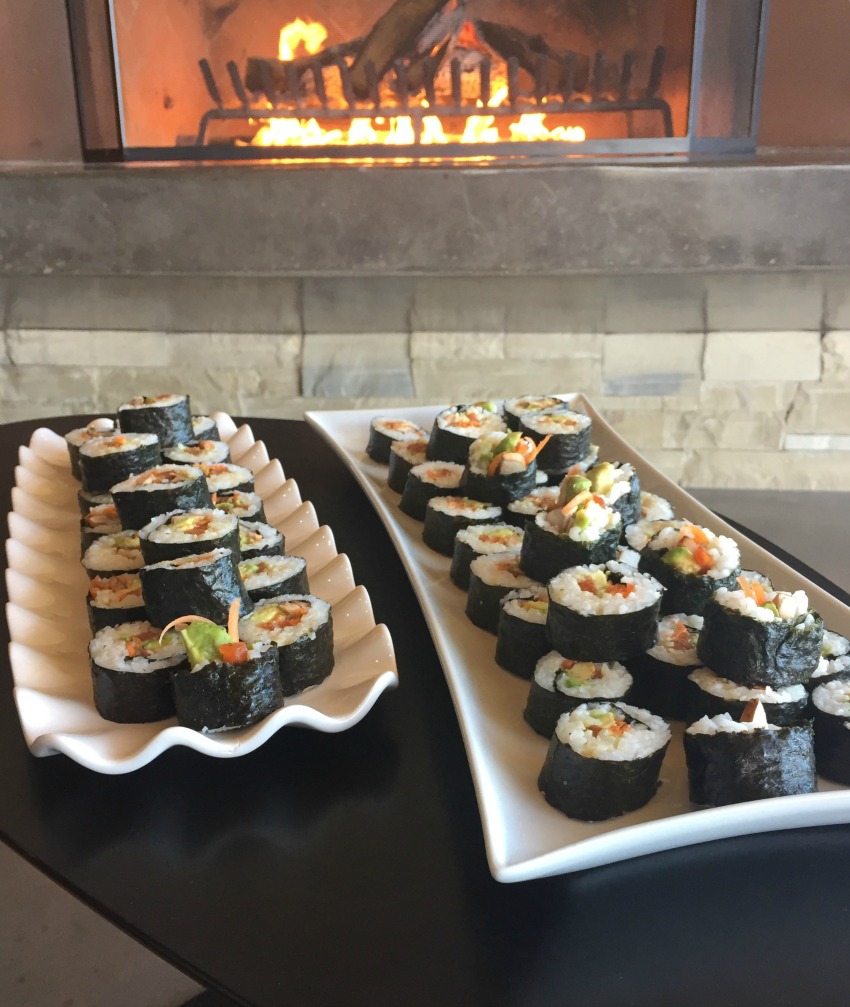
A lovely lunch with two friends at a local winery.
I wasn’t quite sure what to call this recipe.
At a Japanese restaurant, I would always call these things “sushi rolls” and there were many choices of fillings. Recently I learned that a roll like this is called Maki and is usually filled with rice, veggies, and fish, but can be ordered with only veggies.
I started making these a few years ago and found out by accident that tomatoes look a bit like raw tuna. I decided to marinate them in some things to give them a more ocean-like flavor and these Vegan Tuna Rolls were created.
Gather the ingredients. (This recipe makes about 8 rolls depending on how much filling you put on each roll. For a meal, figure 2 rolls per person)
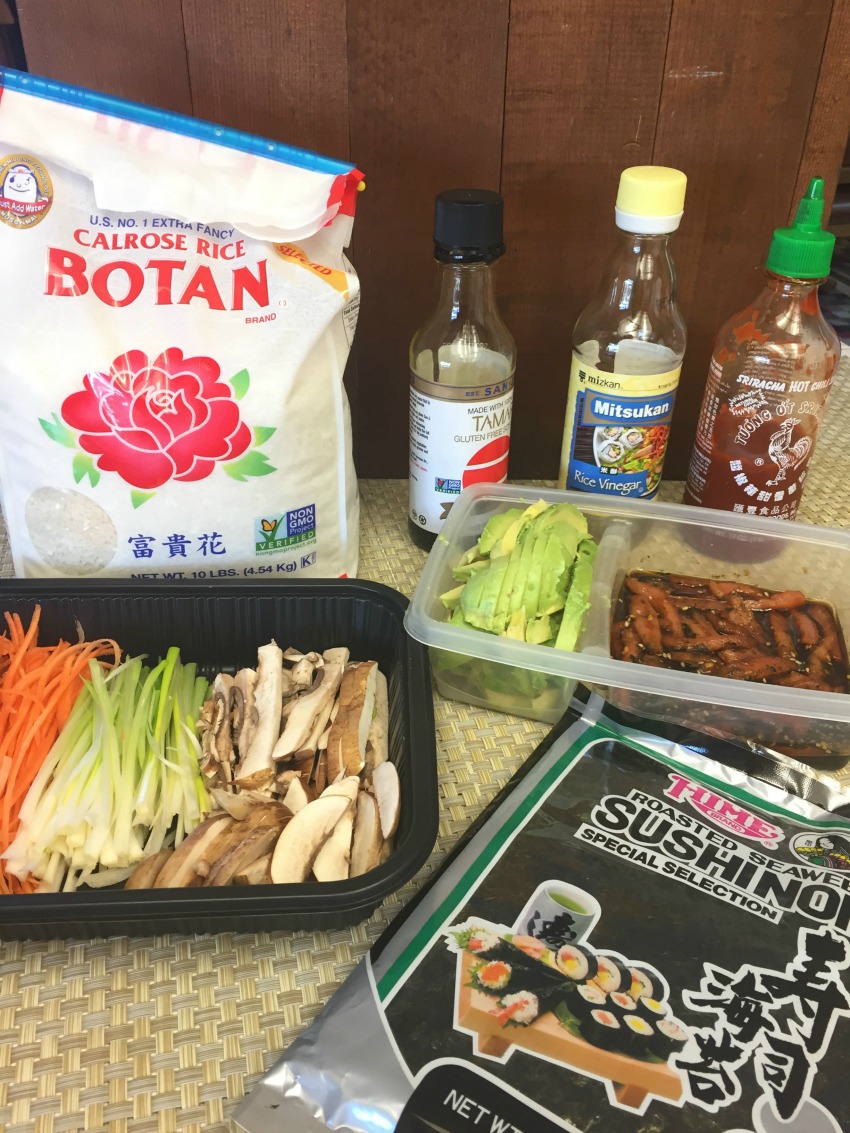
Don’t be intimidated if you haven’t ever made this before. It’s not difficult at all. It is a little bit time consuming when you are first learning, but it gets faster. I’ll tell you how I do it and you can see by the pictures what the process looks like.
For best flavor, prepare the tomatoes the night before. You can do them at the same time as the rice is cooking, but I prefer a longer marinating.
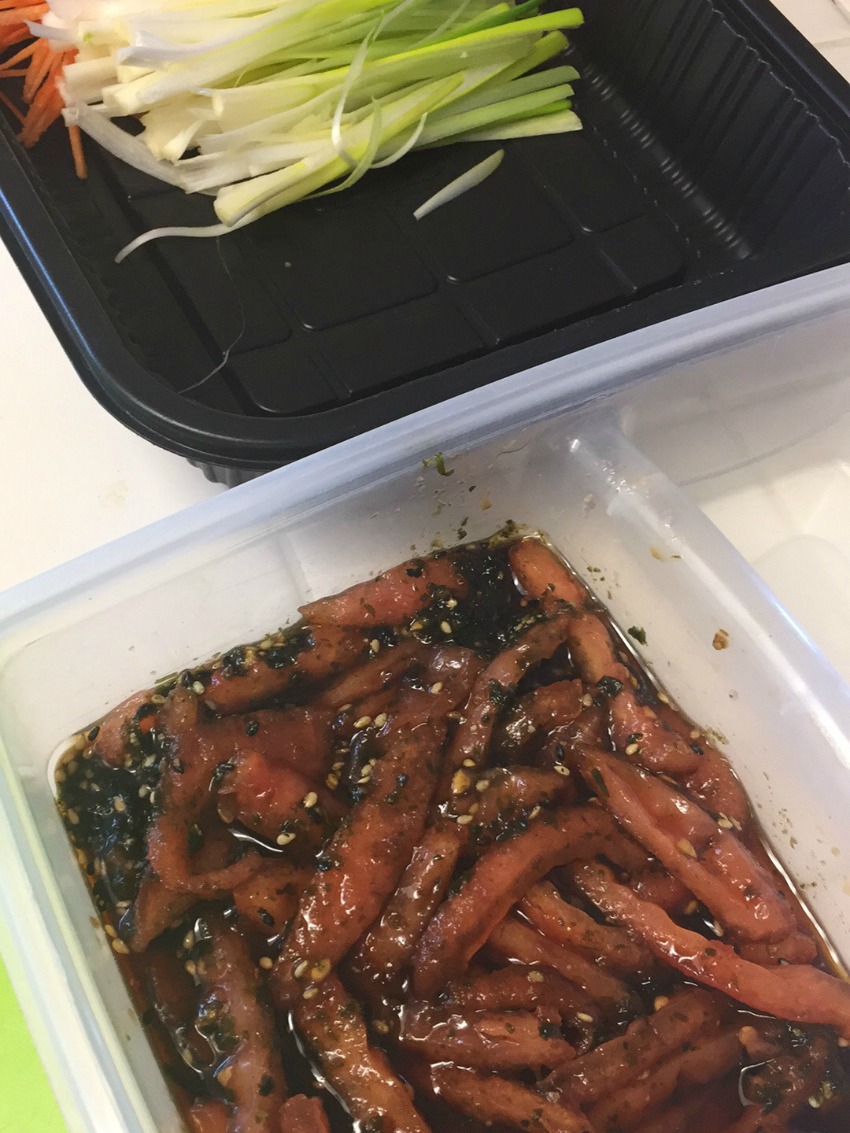
Score the tomatoes with a sharp serrated knife in four places. Drop them into a pot of boiling water and boil for about a minute. Remove them from the water with a slotted spoon and immediately place into a bowl of ice water. This stops them from cooking further. The skin should peel off easily now. Remove the skin, cut the tomatoes in half and remove the seeds and gooey stuff. Cut the peeled tomatoes into small strips and place in a small flat container in a single layer. Mix marinade ingredients and pour over tomatoes. If you can’t find the Aji Nori Furikake you can shred up a few nori wraps and some sesame seed and use that instead. I found the Aji Nori at Target. I’ve seen it on Thrive also. Amazon has it but weirdly, it’s ridiculously priced. It should be under $4.00.
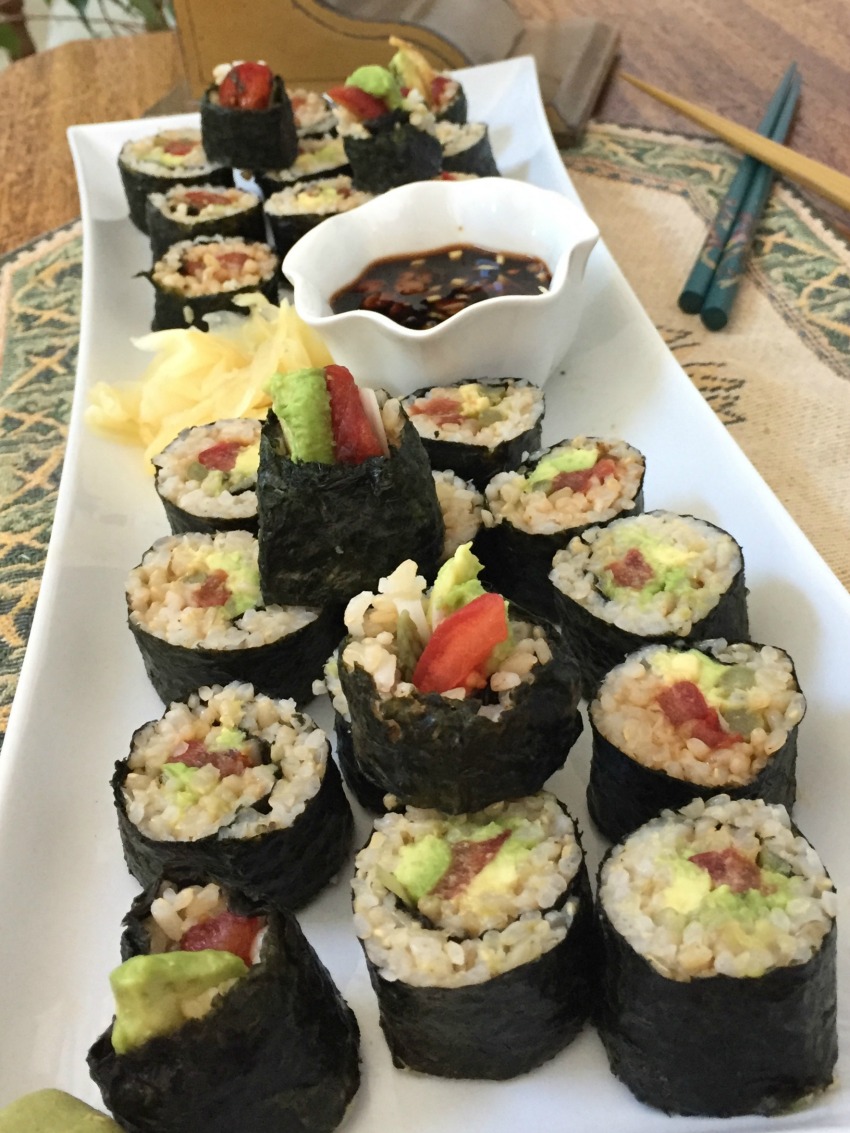
I like to cook the rice ahead about an hour or two, so it has time to cool off before I begin the rolling process. I have used traditional “sushi rice”, regular white rice, and brown rice to make these. They all work well, but the short grain, white sushi rice (pictured) is the best for stickiness and texture.
You’ll cook your rice as directed on the package and at the end of the cooking time, you’ll add the rice vinegar, sugar, and salt. Give it a good stir to fluff the rice set it aside and let it cool.
Slice all the veggies into thin strips. Matchstick sized carrots work well. The mushrooms, onions, and avocado can be bigger strips. Have everything laid out in a production line. Have a bowl of water handy for dipping your fingers into. Once you have everything ready, lay out a nori sheet on top of a piece of plastic wrap. I use a bamboo rolling mat, but it is not absolutely necessary. Your rolls will come out a bit more even if you use it, but you can do it by hand if you are careful. I have not found an alternative to the plastic wrap and I sure would like to, so if you have any ideas, let me know in the comments below.
Here we go…. Place some rice on the nori leaving a couple inches on each end empty.
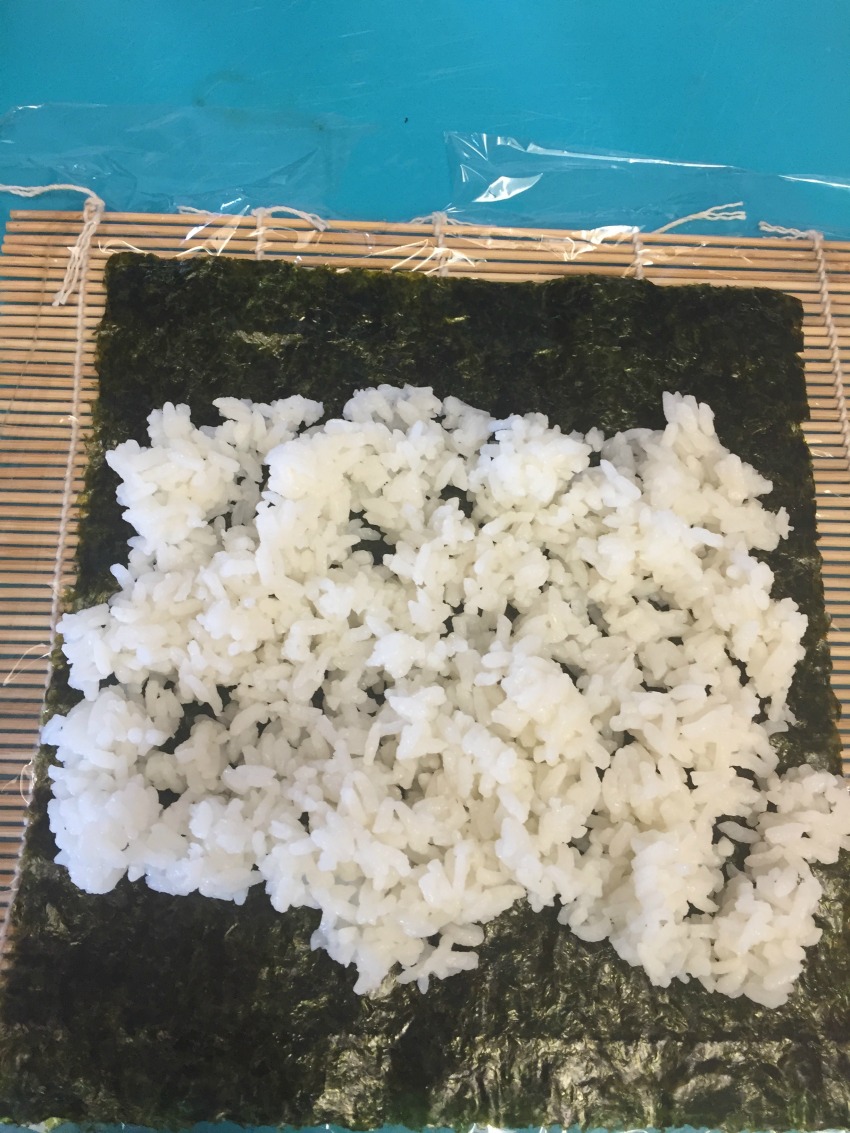
Dip your fingers in water and press the rice to the left and right edges and flatten it all out so it looks like the next picture.
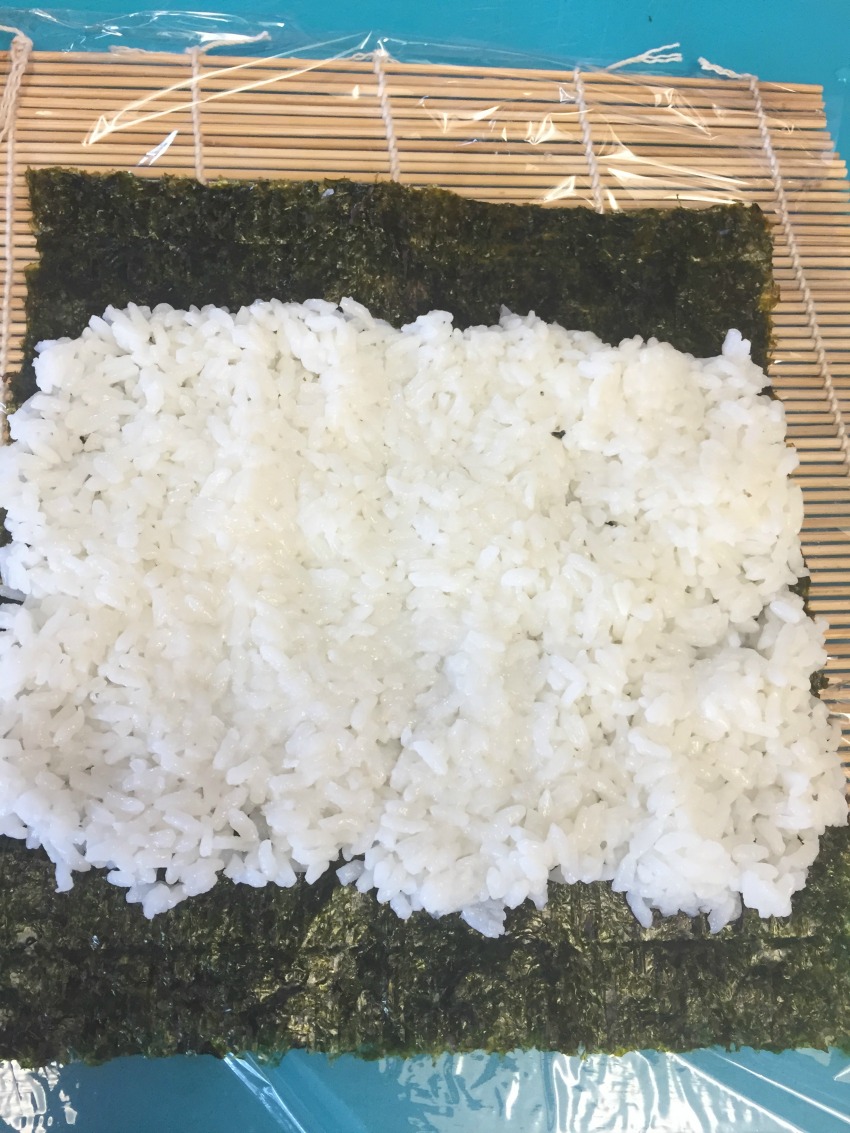
Now place the veggies in a row across the lower middle like the picture below.
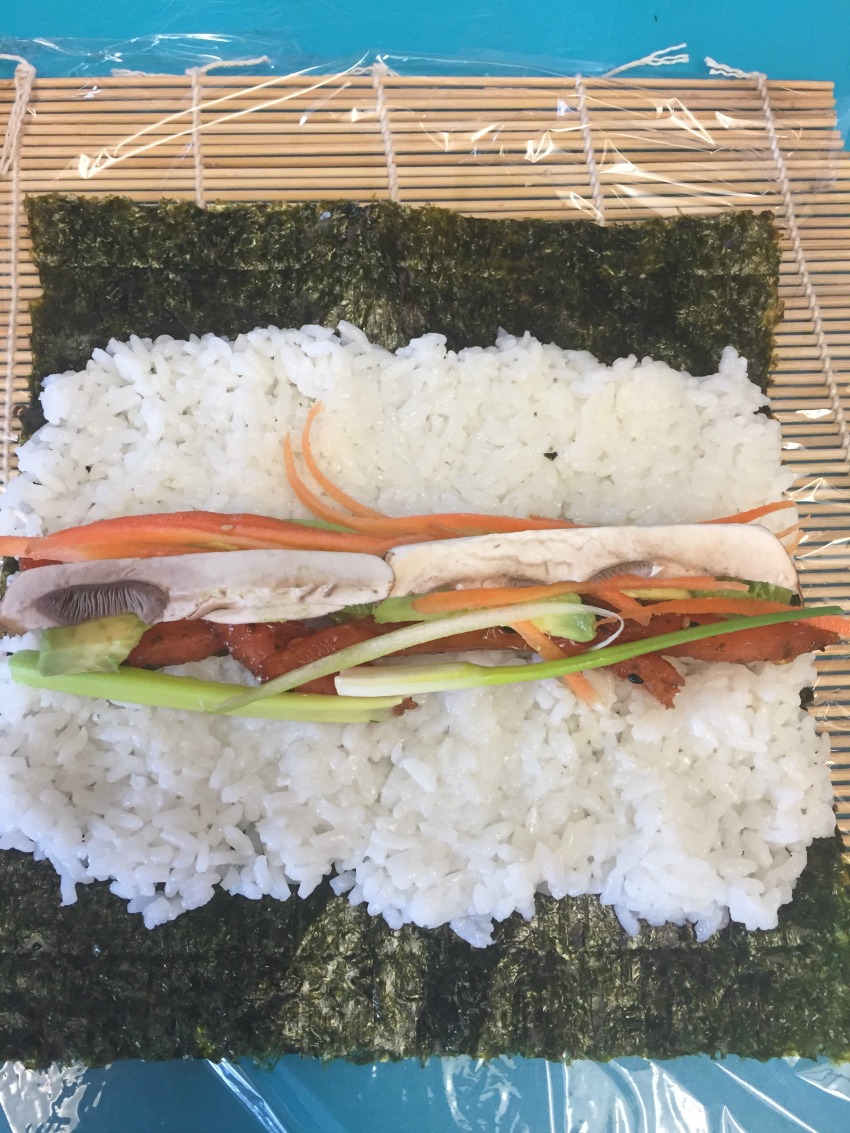
Gently grasp the plastic wrap and roll the front edge of the nori up and over the veggies, pressing with the bamboo to form a solid, firm roll. You will be pulling the plastic wrap edge out of the way before you continue to roll. It looks like this….
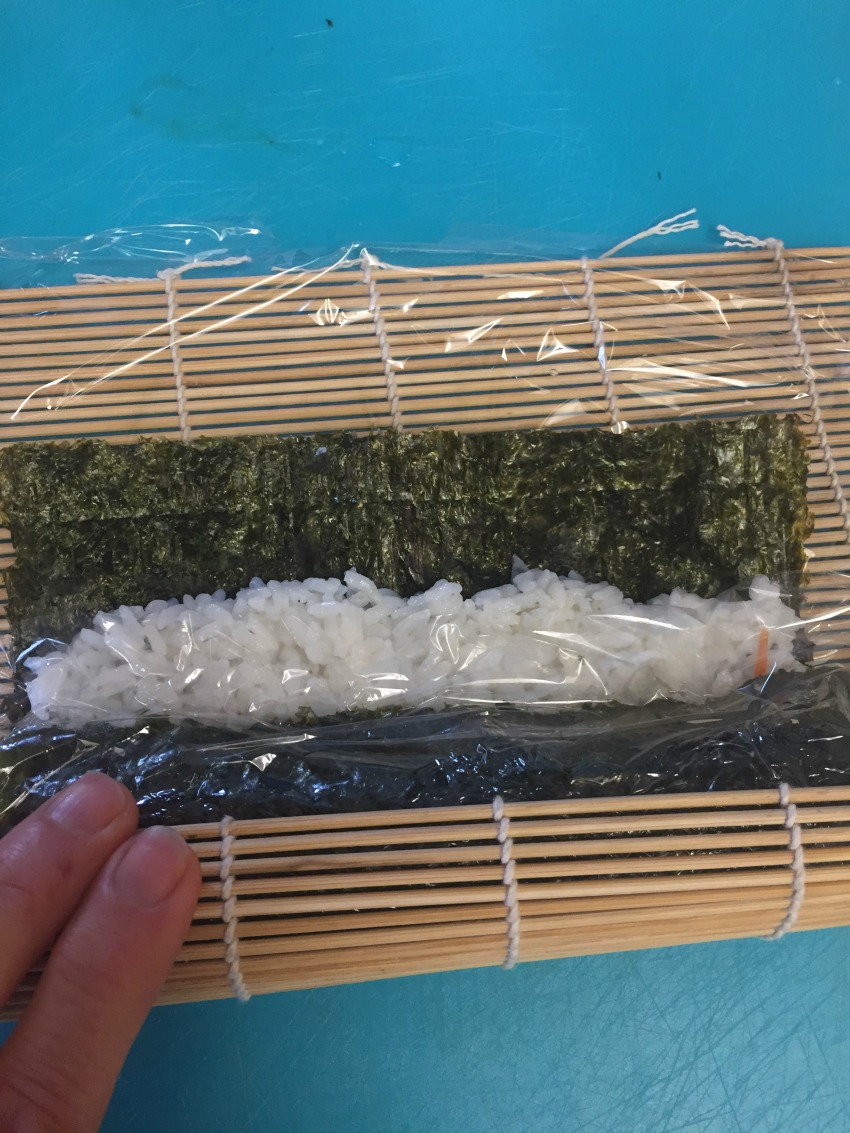
Continue to roll and press while pulling the edge of the plastic wrap out of the way. It’s not as hard as it sounds, but it was really hard to get a picture of the process while I was rolling. I need an assistant!
As you finish the roll, dip your fingers in the water and run your wet finger along the end edge of the nori and that will form a seal when you complete the roll.
Wrap in the plastic wrap and set aside. Continue with this process until you have made all the rolls.
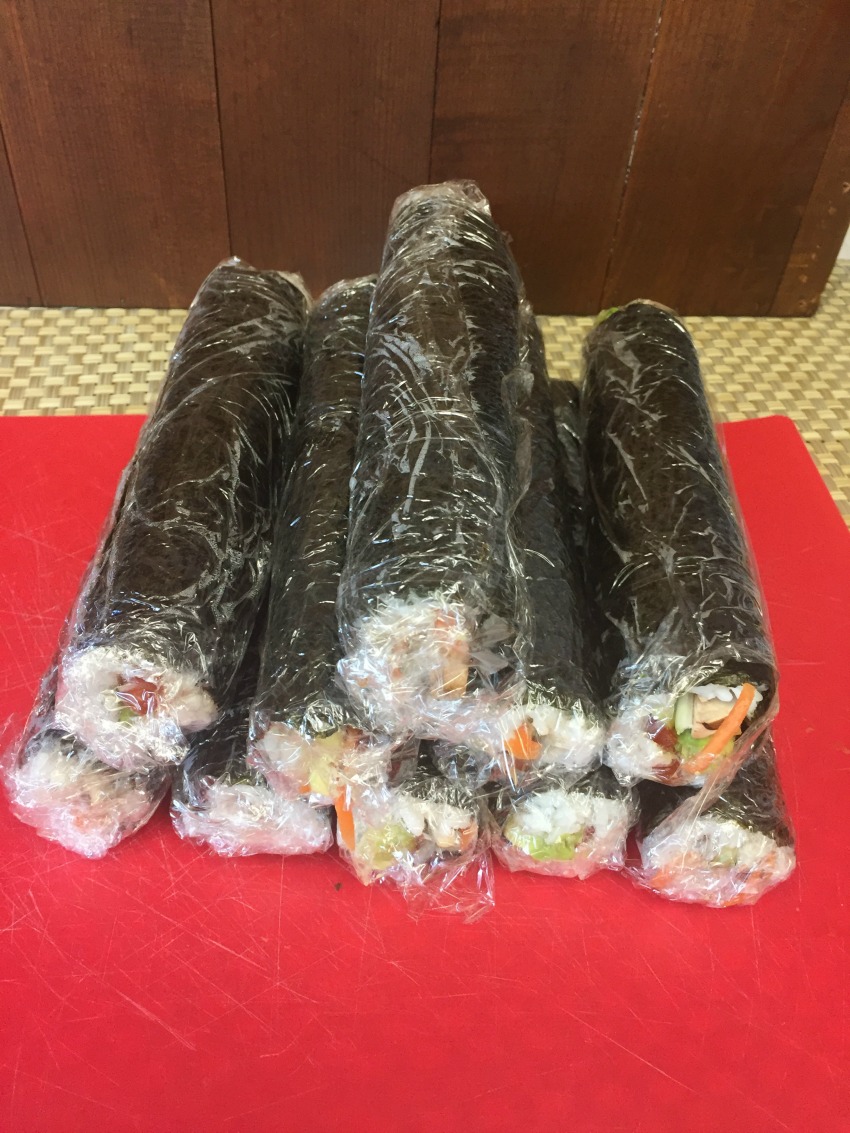
All that is left to do is make the dipping sauce (if using) and slice the rolls into about 1-1 1/4″ slices. I serve this with the dipping sauce in individual little bowls, pickled ginger and wasabi paste.

- 2 cups rice sushi rice, regular white rice or brown rice all work
- 1/4 cup rice vinegar
- 2 tbsp sugar
- 1/2-1 tsp salt optional
- 2 medium 2 1/2"-3" tomatoes
- 1/2-1 tbsp Sriracha
- 1/4 cup Aji Nori Furikake or shredded nori sheet and sesame seeds
- 1/3 cup tamari or soy sauce or liquid amino
- 2-3 medium avocados cut into 1/4" strips
- 2 large carrots cut into matchstick sized strips
- 3-4 green onions cut into 1/4" strips
- 6 oz mushrooms (I used baby bella) cut into 1/4" strips
- 6 tbsp rice wine vinegar
- 1/2 cup tamari
- 1 tsp brown sugar or maple syrup
- 1 green onion or scallion sliced fine
- 1 clove garlic, minced optional
- 1 tsp sesame seeds preferably crushed a bit in a mortar and pestle
- 8 or 9 Nori sheets 8 for rolling, 9 if using a sheet for the tomato marinade
- 1 tbsp sesame seeds optional
- 1 jar pickled ginger optional
- 1-2 tbsp wasabi I used the powdered kind and reconstituted it to make 1 tbsp.
-
Cook the rice according to the package instructions. I cook mine in the instant pot. Check the notes for a link to those instructions.
-
Mix vinegar, sugar, and salt (if using) in a small bowl. Stir until sugar is mostly dissolved.
-
Pour vinegar mixture over rice at the end of it's cooking time. Stir to incorporate and fluff the rice a bit.
-
Boil a pot of water big enough to blanch the tomatoes. Fill a similar sized bowl with ice water.
Score the tomatoes with a sharp, serrated knife in four places from top to bottom.
Drop into boiling water for about a minute.
Remove from water with a slotted spoon and drop into the ice water.
-
Remove peels from tomatoes and slice in half.
Remove seeds and gooey stuff.
-
Slice into 1/4" strips and place in a container big enough for them to be in one layer.
-
Mix tamari (or other sauce) with Sriracha and Aji Nori Furikake (or shred a nori sheet and mix with a tablespoon or so of sesame seeds).
-
Pour the tamari mix over the tomatoes and set aside. It's best if allowed to marinate for a few hours or overnight.
-
Place a piece of plastic wrap on top of a bamboo mat. Place a nori sheet on top of the plastic wrap.
-
Add rice to the nori sheet. With wet fingers spread and press the rice to the left and right edges and leave an inch or two of nori exposed on the top and bottom.
-
Add a row of filling ingredients across the rice a couple inches up from the bottom.
-
Carefully, using the plastic wrap to pull, roll the bottom of the nori sheet up and over the filling. Use the bamboo mat (or your hands) to press and make a tight, firm roll. Pull the plastic wrap up and out of the way.
-
Continue rolling and pulling the plastic wrap out of the way as you roll.
-
At the end, wet your fingers and run a bit of water along the top edge of the nori. This will form a seal when you complete the roll.
-
Wrap the finished roll in the plastic wrap and set aside.
-
Remove the plastic wrap and slice into 1"-1 1/2" slices. Using a serrated bread knife works best.
-
Place on a plate with a pile of pickled ginger and a little bowl of the sauce and wasabi on the side.
- I cook the rice in my Instant Pot. Click here for the instruction for doing that.
- You can add the left over marinade from the tomatoes to the dipping sauce.
You don’t need to wrap the rolls in anything once they’re made. Nobody in Japan does that. I use a silicone baking mat to roll my sushi, since I don’t have a bamboo rolling mat, and it works beautifully. Once the sushi is rolled, you can just set it seam side down and it will (should!) stay put. Then again, I usually slice my sushi right away and set it on the plate or in the container.
One thing my mother often did, and I do as well now, is grate the carrot and when the rice is finished cooking, add the carrot with the rice vinegar and sugar. The heat from the rice will partially cook the carrot, making it nice and tender. it’s also colorful that way.
That’s so good to know about the silicone mat! I will definitely try that next time. What an interesting idea for the carrots too! I’m looking forward to trying that as well.
That is such an amazing post Trish! Thank you so much for taking the time to write all the step by step.
Thank you for your appreciation! Let me know how it turns out for you.